 (Image source: Gemini)
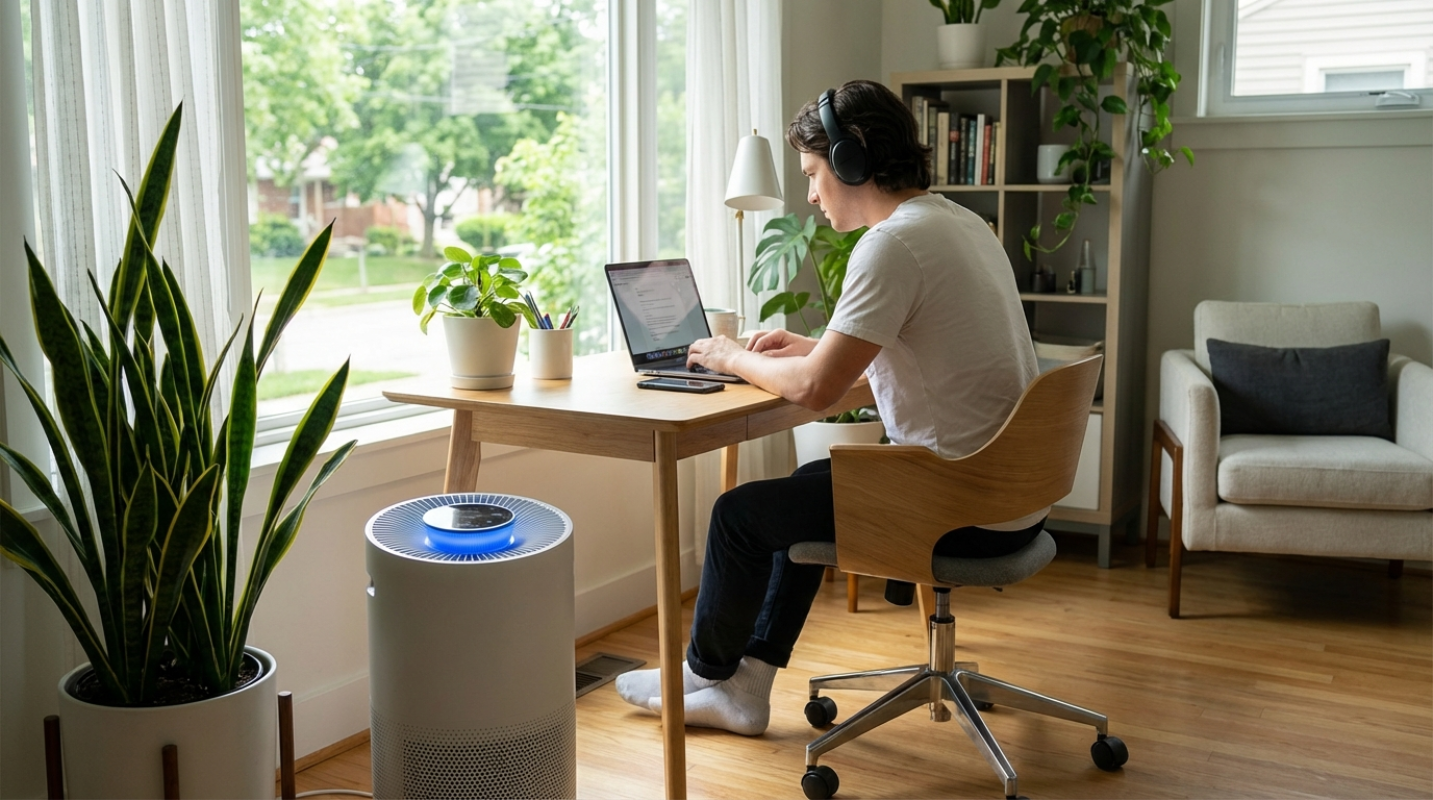
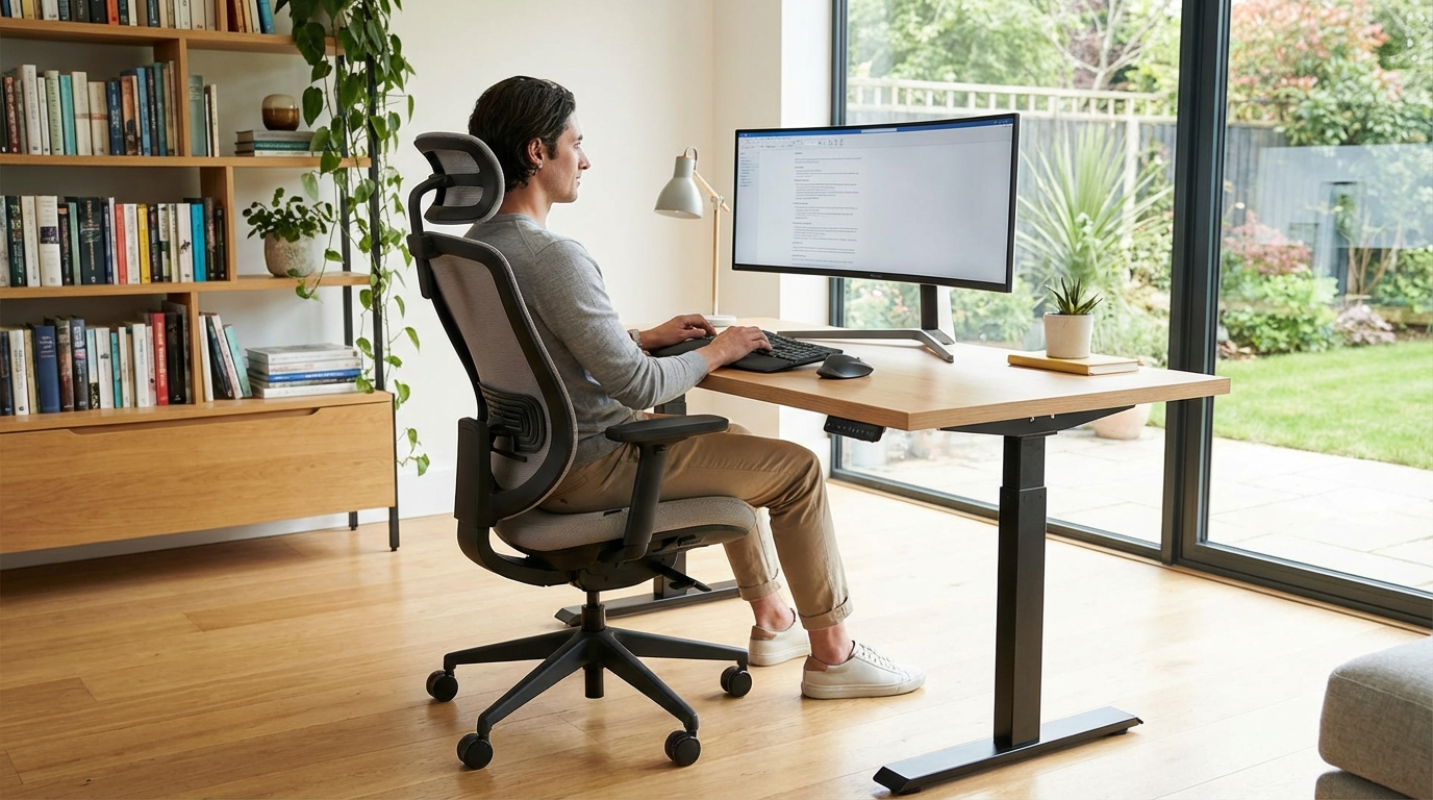
 The hybrid work model is standard for businesses and working nowadays. Yet, most of us are still battling the same acoustic demons we faced years ago. You don't need to spend $50,000 on a professional recording studio to get some peace because the goal here isn't total silence (which is actually quite eerie and expensive to achieve). All you need for a home office is significant noise reduction that fits a realistic budget and gets you a quieter atmosphere to get stuff done. You can reclaim your focus without tearing down drywall or hiring a contractor. It's time to work smarter with the materials you already have by making a few strategic, low-cost upgrades.
Sealing the Leaks, Start with Doors and Windows
If you want to stop noise, you have to think like water. Sound waves travel through any gap they can find. If air can get through, sound will too. This makes your doors and windows the primary suspects in your quest for quiet.
The door is almost always the weakest link in any room. Most internal home doors are hollow-core, which is essentially two thin layers of wood with air and cardboard in the middle. They're great for privacy, but terrible for blocking the sound of a television in the next room.
Start with the "Step Zero" seal. Take a look at the gap between your door frame and the drywall. Even a tiny crack here can let in a surprising amount of noise. Use acoustic caulk to seal these gaps. Unlike the standard stuff you use in the bathroom, acoustic caulk stays flexible for years. It won't crack as your house settles, keeping that seal airtight.
Next, address the perimeter of the door itself. You can buy high-density silicone weatherstripping for less than $20. Stick it along the top and sides of the door jamb. When you close the door, you should give it a tiny extra push to engage the seal. That resistance tells you you've created an actual barrier against airborne noise.
Don't forget the "smile" at the bottom of the door. That half-inch gap is a highway for sound. Skip the cheap fabric "draft snakes" that slide around. Instead, install a U-shaped rubber door sweep. These slide onto the bottom of the door and create a compression seal against the floor. For about $25, it’s one of the most effective upgrades you can make.
Windows are your next battleground. Street noise, sirens, and barking dogs love glass. If you're looking for a quick fix, heavy, layered curtains are your best friend. Look for ones specifically rated for acoustic or thermal performance. They need to be heavy (think five to ten pounds) to actually dampen sound. Standard blackout curtains usually aren't dense enough to do much more than block light.
The Materials That Actually Work
There's a common mistake people make when they start soundproofing. They buy a 48-pack of those egg-carton foam squares, stick them all over the walls, and wonder why they can still hear their roommate washing dishes.
Here is the secret. Foam absorbs sound. Foam is for stopping echoes inside your room so you sound better on your microphone. If you want to stop sound from entering your room, you need mass.
This is where Mass Loaded Vinyl (MLV) comes in. It's a heavy, flexible material that's incredibly dense. It remains the gold standard for DIY noise blocking. It's not the prettiest material (it looks like a giant roll of black rubber), but it works. You can hang it behind a decorative mix or even staple it to the back of a hollow-core door to give it some much-needed heft.
- Mass Loaded Vinyl (MLV): Best for blocking sound. It adds density to walls and doors, stopping sound waves in their tracks. It usually costs between $2.00 and $5.00 per square foot.
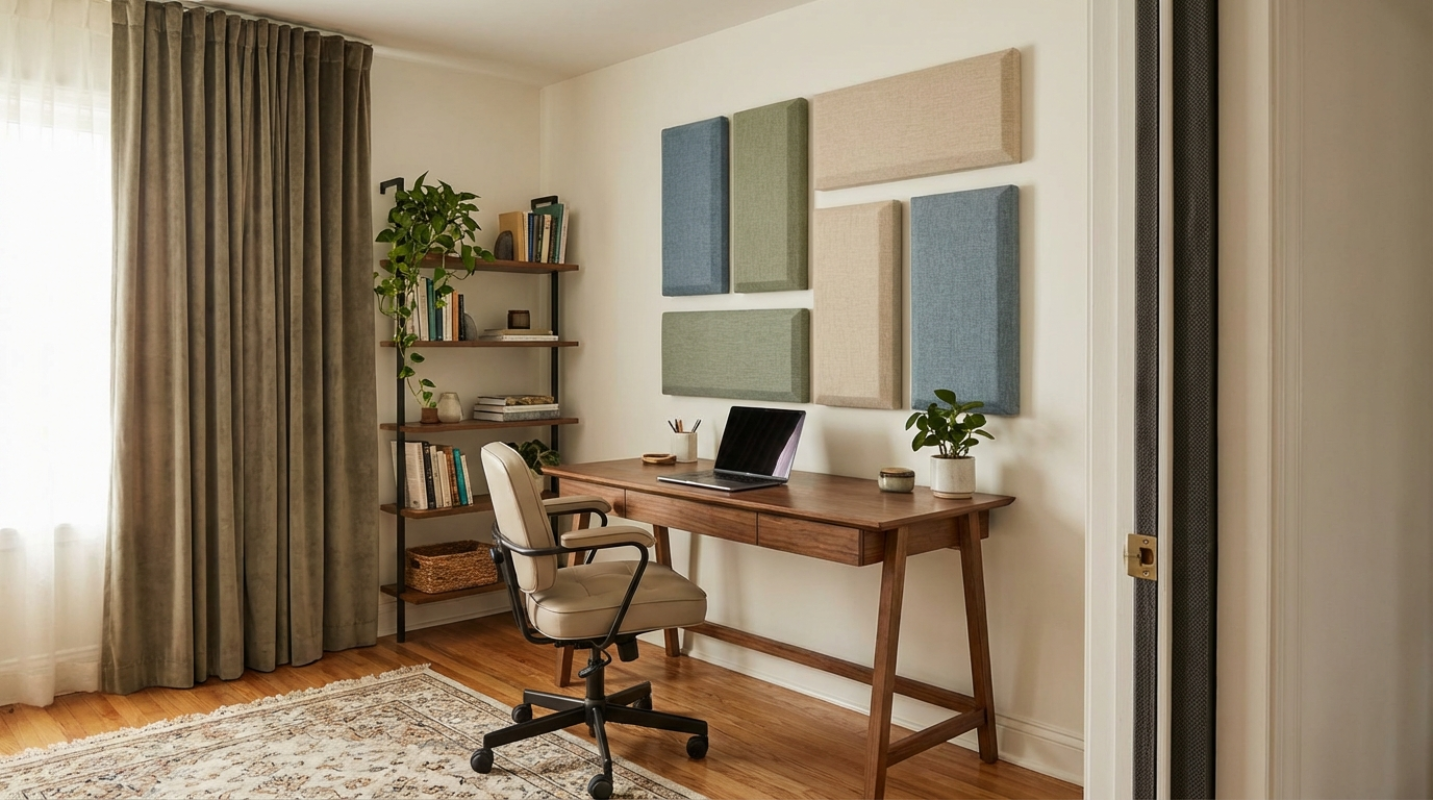
- Acoustic Foam: Best for improving your voice quality. Use it sparingly behind your monitor or on the wall you face while talking to stop your voice from bouncing around the room.
- Cork Wall Tiles: A rising trend this year. Cork is naturally dense enough to block some sound and porous enough to absorb echoes. It's a great "all-in-one" solution if you want something that looks like actual decor.
If MLV feels too industrial for you, use the "Bookshelf Hack." It's the single best zero-cost soundproofing upgrade. A floor-to-ceiling bookshelf filled with books acts as a massive "diffuser" and adds significant weight to a shared wall. It breaks up sound waves and prevents them from vibrating through the drywall. If you have a neighbor who loves loud music, put your library on that shared wall.
Beyond the Gaps, Walls, Floors, and Hidden Leaks
Once doors and walls are addressed, don’t overlook surfaces. Sound travels as impact noise through your home’s structure. Think footsteps upstairs or vibrations from below. Even simple fixes like adding dense rugs and high-quality rug pads can dampen these vibrations, making your workspace quieter and more comfortable.
Footsteps and vibrations travel through floor joists as impact noise. While you can’t fully decouple ceilings, you can absorb sound by using thick area rugs on hard floors, plus a dense rug pad. This combo helps dull both your movements and noise from below.
Walls pose challenges, especially for renters. Instead of renovations, hang heavy moving blankets as temporary sound barriers using curtain clips and a rod. They’re quilted, effective at absorbing noise, and easy to move when not in use.
Don’t forget the small things. Outlets are common weak points in your sound barrier. Even on shared walls, sound can leak through gaps behind faceplates. Use acoustic putty pads or foam inserts made for outlets. They’re affordable, quick to install, and effectively block these hidden noise paths.
- Decorate with Density: Fill empty rooms with bookshelves or dense furniture, especially against shared walls, to help block and scatter sound.
- Upgrade Your Curtains: Swap blinds for heavy, layered curtains that cover the window frame and pool on the floor to better seal out noise.
- Use Anti-Vibration Pads: Place rubber or cork pads under heavy equipment to reduce vibrations transferring sound through furniture and floors.
Your Action Plan for Instant Office Serenity
Soundproofing is cumulative. You don't have to do everything at once to see a difference. If you're feeling overwhelmed, start with the "Sealing Checklist." Spend $50 on acoustic caulk and weatherstripping. You'll likely notice a 3 to 7 dB reduction just from that one hour of work.²
From there, look at your door. If it's hollow, adding a layer of MLV or even a heavy moving blanket can drop the noise by another 10 dB. Remember, a 10 dB reduction is roughly perceived by the human ear as "half as loud." That is the difference between hearing your family's entire conversation and just hearing a dull, ignorable hum.
If you have a bit more in the budget (around $200), you can create a truly formidable setup. Combine the door seals with a few strategic foam panels for your Zoom calls and a heavy rug. For those with serious street noise issues, building a DIY window plug using an MDF board and some leftover MLV is the "gold standard" for silence.
You deserve a workspace that supports your focus. By treating your home office like a vessel that needs to be airtight, you can turn a chaotic environment into a sanctuary of productivity.