Spending quality time together as a family often involves staring at screens or rushing between extracurricular activities. Finding a way to connect that is creative, hands-on, and engaging for everyone can be a challenge. DIY projects are the perfect solution because they allow you to build something tangible while making lasting memories. You don't need a garage full of power tools or professional carpentry skills to create something amazing. We are going to showcase several safe, fun, and easy projects that get everyone involved, from toddlers to teenagers. These activities encourage teamwork, boost confidence, and result in beautiful items you can actually use in your home. Get ready to roll up your sleeves and unleash your family's inner creativity.
Tin Can Herb Gardens
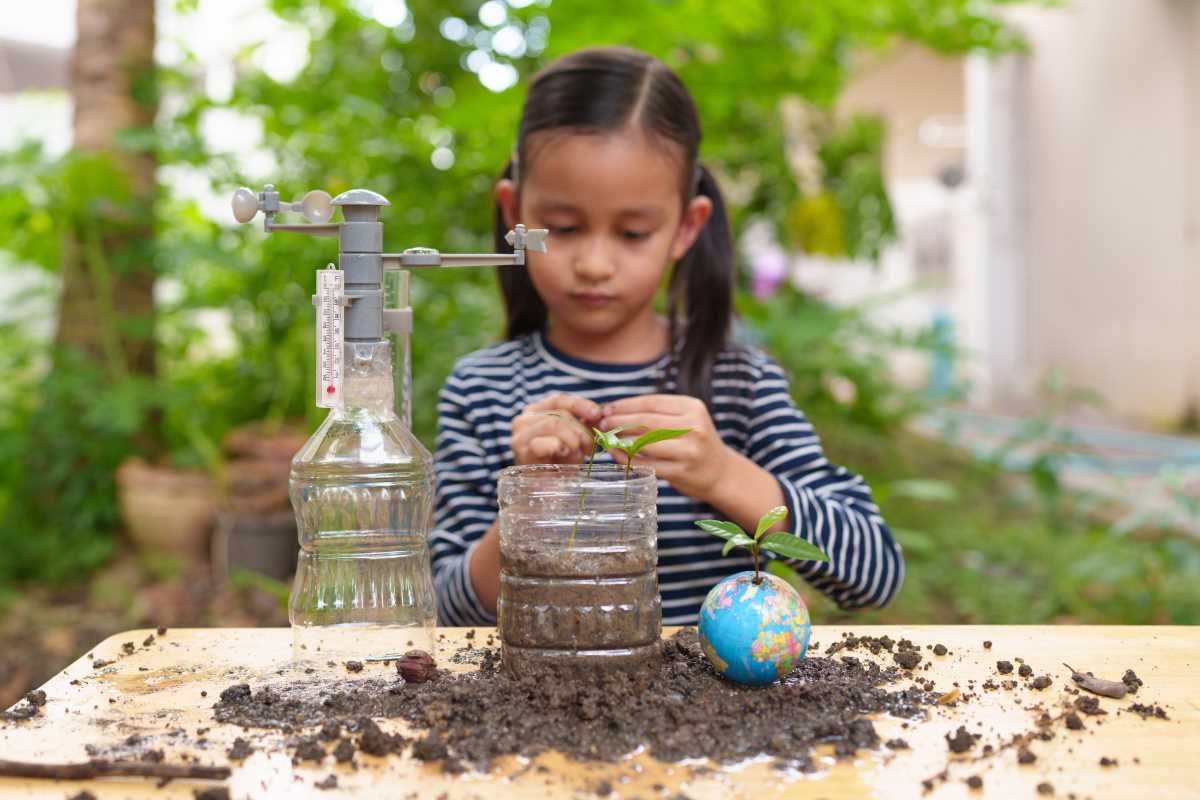
Gardening teaches responsibility and patience, but digging up the backyard isn't always an option. Creating a windowsill herb garden using recycled materials is a fantastic alternative. It is eco-friendly, educational, and provides fresh flavors for your family dinners.
Materials Needed
- Clean, empty tin cans (from soup or vegetables)
- Acrylic paint and brushes
- Hammer and a large nail
- Potting soil
- Herb seeds or small seedlings (basil, mint, and parsley work well)
- Small rocks or gravel
How to Build It
Start by preparing the cans. An adult should use the hammer and nail to punch three or four drainage holes in the bottom of each can. This prevents the roots from sitting in water and rotting. Once the holes are made, the fun begins. Let the kids paint the outside of the cans. They can paint solid colors, draw patterns, or even paint labels for the herbs. Using high-quality paint like Apple Barrel Acrylic Paint ensures the colors stay vibrant and dry quickly.
Fill the bottom inch of each dry can with small rocks or gravel to help with drainage. Top the rocks with potting soil until the can is about three-quarters full. Plant your seeds or seedlings according to the packet instructions. Place the cans on a sunny windowsill and create a watering schedule. Watching the green shoots emerge is a rewarding process that happens relatively quickly, keeping younger kids interested.
Homemade Bath Bombs
Science class meets spa day with this fizzy, fragrant project. Making bath bombs is surprisingly easy and safe, as it mostly involves mixing common kitchen ingredients. The reaction between baking soda and citric acid creates the fizz, which is a great practical chemistry lesson.
Materials Needed
- 1 cup baking soda
- 1/2 cup citric acid
- 1/2 cup Epsom salts
- 1/2 cup cornstarch
- 2 tablespoons coconut oil (melted)
- Essential oils (lavender or eucalyptus)
- Food coloring
- Plastic molds or silicone ice cube trays
How to Build It
Mix the dry ingredients (baking soda, citric acid, Epsom salts, cornstarch) in a large bowl. Whisk them together to remove any clumps. In a separate small jar, mix the melted coconut oil, 10-12 drops of essential oil, and a few drops of food coloring.
Slowly add the liquid mixture to the dry ingredients. This is the most important step. Add the liquid just a teaspoon at a time while whisking constantly. Adding it too fast will trigger the fizzing reaction prematurely. The mixture should feel like damp sand that holds its shape when squeezed. Pack the mixture tightly into your molds. Let them dry for at least 24 hours before removing them. Kids love choosing the colors and scents, and they get to enjoy the fruits of their labor during bath time.
Pine Cone Bird Feeders
Supporting local wildlife is a great way to teach empathy and observation skills. This classic project is messy, tactile, and perfect for getting messy hands. It requires zero tools and uses natural materials found in your own neighborhood.
Materials Needed
- Large pine cones (open scales are best)
- Peanut butter (or sunflower seed butter for allergies)
- Birdseed mix
- Twine or string
- Butter knives or popsicle sticks
- Paper plates
How to Build It
Tie a piece of twine around the top of the pine cone before you start adding ingredients. It is much harder to do this once the cone is covered in sticky goo. Pour a generous amount of birdseed onto a paper plate.
Have your child use a butter knife or popsicle stick to spread peanut butter all over the pine cone. Encourage them to push the peanut butter deep into the crevices between the scales. Once the cone is thoroughly coated, roll it in the birdseed. Press down gently to make sure the seeds stick to the peanut butter. Hang the finished feeders on a tree branch visible from a window. Keep a bird identification book nearby so the family can track which feathered friends come to visit.
No-Sew Fleece Blankets
Sewing projects can be daunting because of sharp needles and complex machines. A no-sew fleece blanket eliminates those dangers while still teaching the basics of fabric construction. It results in a warm, cozy item that is perfect for movie nights.
Materials Needed
- Two pieces of fleece fabric (1.5 to 2 yards each), in coordinating colors or patterns
- Sharp fabric scissors (adult supervision required)
- Ruler or measuring tape
- Masking tape (optional)
How to Build It
Lay the two pieces of fabric on top of each other on a large flat surface, like the floor. Make sure the edges are aligned. Trim any uneven edges so you have a perfect rectangle. Cut a 4-inch or 5-inch square out of each of the four corners (cutting through both layers of fabric).
Cut fringe along all four sides of the blanket. Make cuts about 1 inch wide and as deep as the squares you removed (4 or 5 inches). You should cut through both layers at the same time. Once the fringe is cut all the way around, start tying. Take a fringe strip from the top layer and tie it in a double knot with the corresponding strip from the bottom layer. Continue this all the way around the blanket. This is a great group activity where everyone can work on a different side of the blanket simultaneously.