 (Image via
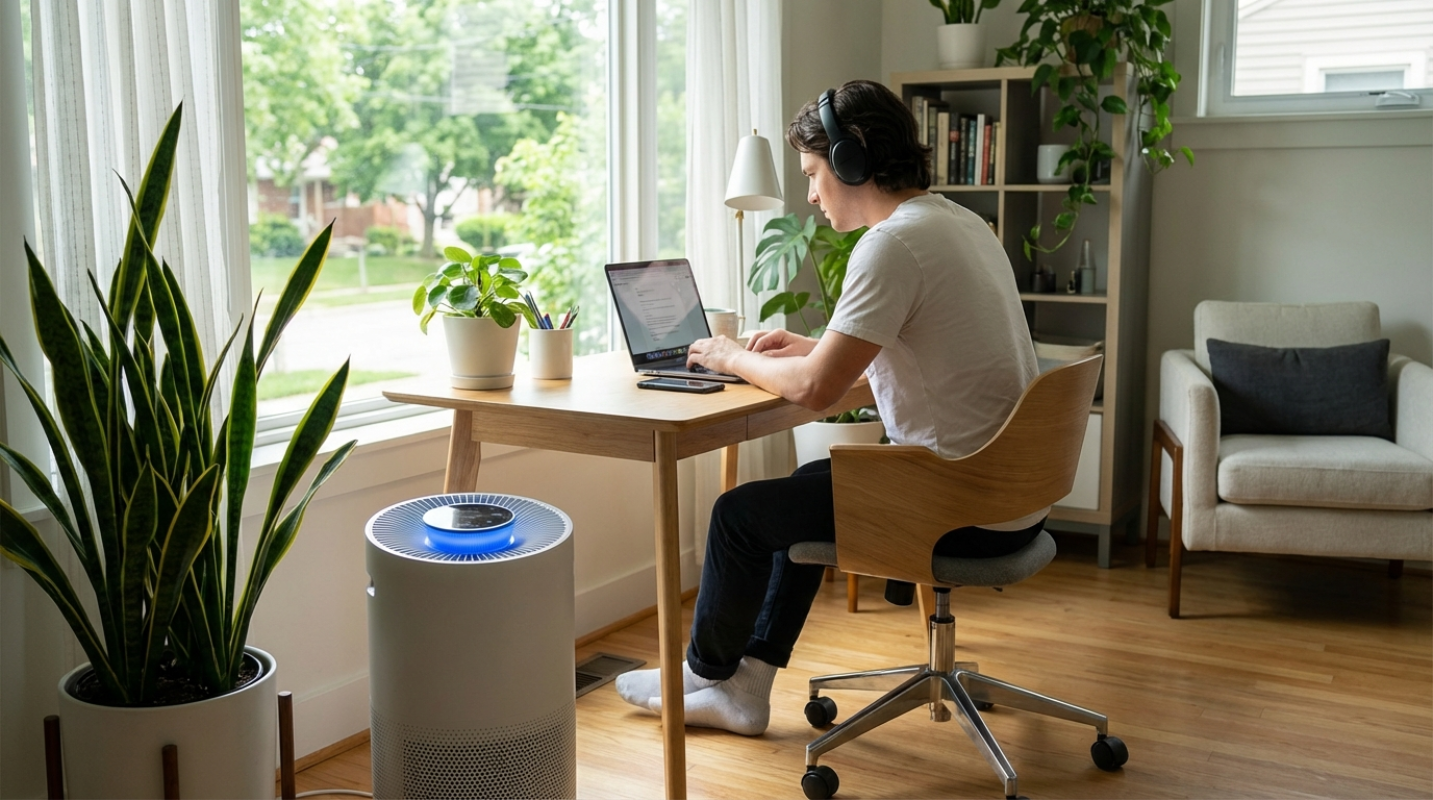
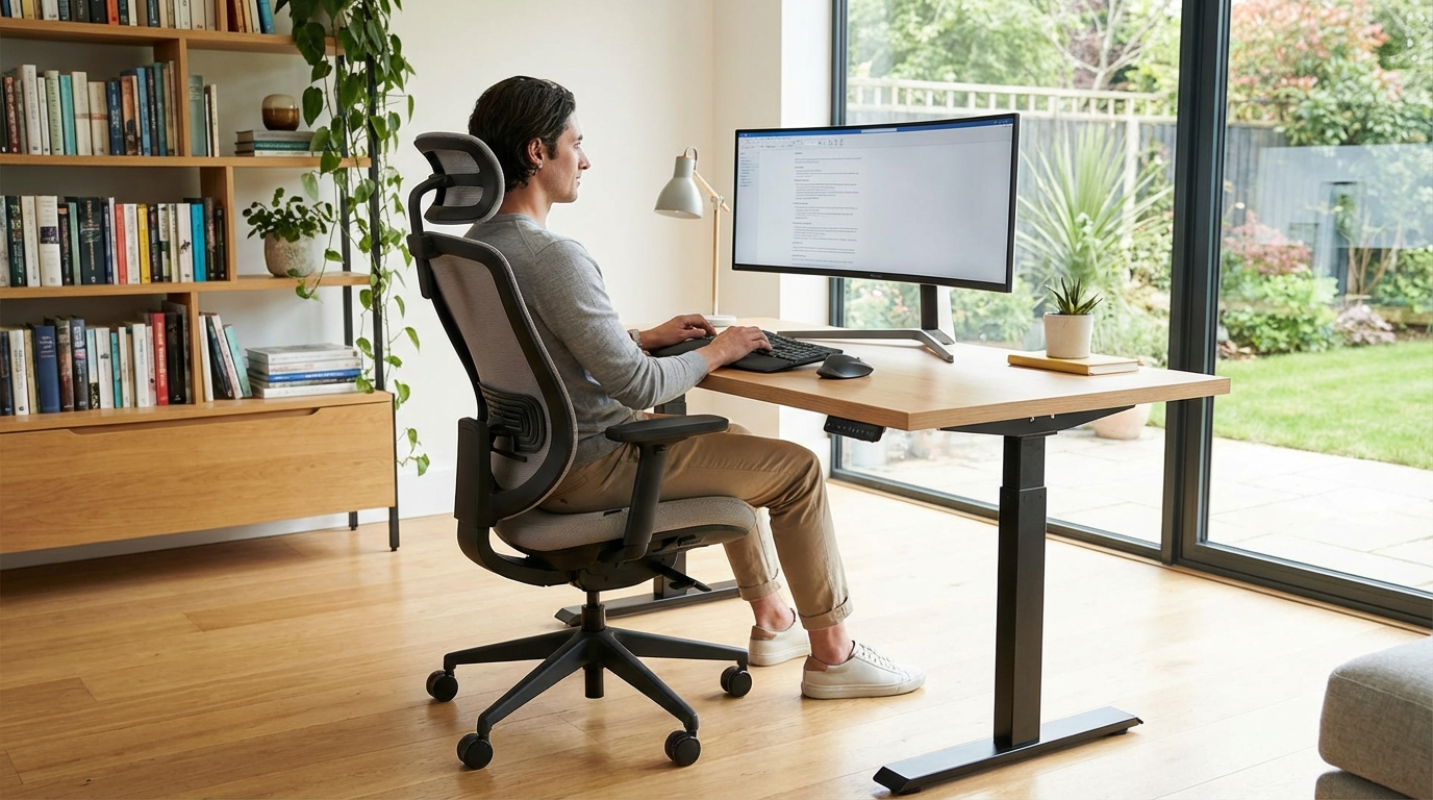
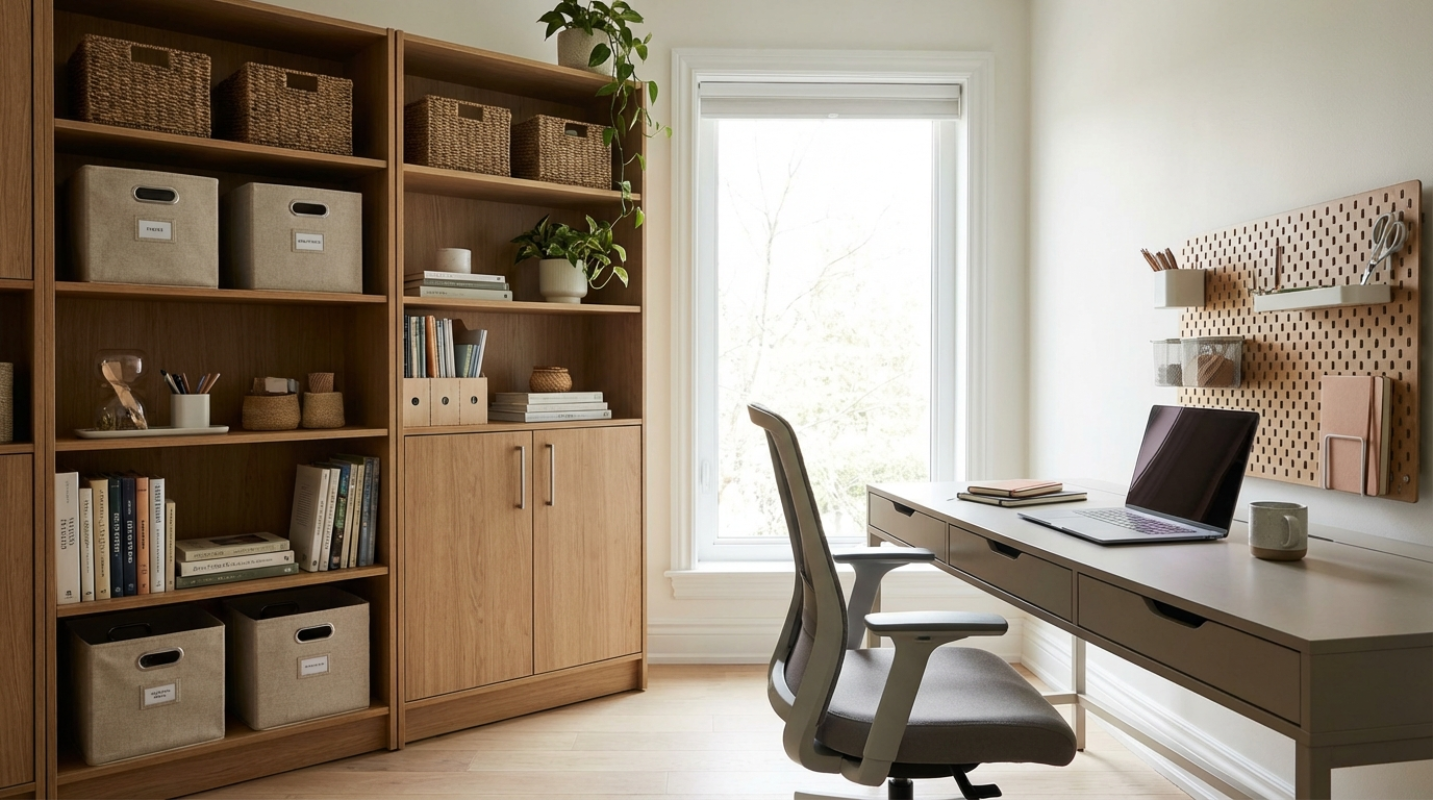
Working from home often means making space for work to happen. You might be squeezing an office into the corner of a bedroom, a slice of the living room, or even a closet. Limited square footage doesn't mean you have to sacrifice ergonomics or health. The standing desk revolution has finally caught up to apartment living. Manufacturers now offer clever, compact designs that provide all the benefits of sit-stand working without dominating your floor plan. Whether you need a mobile workstation that tucks away at night or a sleek, wall-mounted solution, there is an option that fits your life. Let's look at these top-tier standing desk options specifically engineered for small spaces. We will look at why size matters, what features to prioritize, and the specific products that can transform your cramped corner into a productivity powerhouse.
1. Uplift V2 Commercial (24" Depth)
When stability meets mobility, you get the Uplift V2. While known for their larger desks, Uplift offers a narrow 24-inch depth option that is perfect for tight quarters. The frame is notoriously sturdy, which is often a weak point for smaller desks.
- Best-in-Class Stability: The V2 Commercial frame includes a crossbar that connects the legs. This eliminates the "wobble" often found in standing desks, even when raised to maximum height.
- Customizable Widths: You can pair the frame with desktops as narrow as 42 inches. This width is the sweet spot—wide enough for a laptop and monitor, but narrow enough to fit in an alcove.
- Accessory Ecosystem: Uplift excels at organization. Because the desk is small, you need to keep gear off the surface. Their extensive line of clamp-on accessories—from monitor arms to headphone hooks—allows you to utilize vertical space efficiently.
It brings industrial-grade stability to a compact footprint. You don't have to compromise on build quality just because you have a small room.
2. Fully Jarvis Bamboo (Small)
For those who work primarily on a laptop or a single monitor setup, the Fully Jarvis in its smaller configurations is a top contender. Known for its eco-friendly bamboo top, it adds a touch of warmth and style to a room, preventing the "sterile office" look that can clash with home decor.
- Sustainable Bamboo Top: The surface is durable and aesthetically pleasing. In a small room where furniture is more visible, the look of the desk matters.
- Programmable Handset: Even on their smaller models, you get a digital handset with memory presets. This allows you to switch between sitting and standing with a single touch, ensuring you actually use the standing feature.
- Impressive Range: The Jarvis frame has a wide range of height adjustability. It goes low enough for shorter users to sit comfortably and high enough for tall users to stand without hunching.
The Jarvis balances aesthetics and function perfectly. The bamboo top looks like high-end furniture, blending seamlessly into a living room or bedroom setup.
3. VariDesk Essential 36
Sometimes, you don't even have space for a 42-inch desk. Enter the VariDesk Essential 36. At just 36 inches wide, this is a true micro-desk designed for the tightest of spots. Despite its size, it retains the robust build quality Vari is famous for.
- Ultra-Compact Footprint: At 36" x 24", this desk can fit almost anywhere. It’s ideal for "cloffice" (closet-office) setups or unused corners in a hallway.
- Whisper-Quiet Motor: In a small apartment, noise travels. The motor on the Essential 36 is incredibly quiet, meaning you won't disturb roommates or family members when adjusting your desk height.
- Simple Assembly: Vari is known for easy assembly. In a small space, you don't have room to spread out hundreds of parts. This desk comes together quickly with minimal tools.
It is unapologetically small. It doesn't try to be a full-size desk; it embraces its role as a compact workstation. If you are working with a nook or cranny, this is likely the only powered option that will fit.
4. The Pneumatic Adjustable Desk
Not every standing desk needs a motor. Pneumatic (air-lift) desks are often lighter, more mobile, and don't require proximity to a power outlet. This freedom can be a game-changer in a small room with limited outlets. The Kloud City Pneumatic Desk is a prime example.
- Cord-Free Operation: Since it uses a gas cylinder to lift (like an office chair), you aren't tethered to the wall. You can move the desk to the center of the room or out on a balcony without worrying about extension cords.
- Instant Adjustment: Electric motors are slow. Pneumatic desks are instant. Squeeze the lever, and the desk shoots up. This speed encourages more frequent movement throughout the day.
- Rolling Casters: Most pneumatic desks come standard with wheels. This emphasizes the "mobile workstation" concept, allowing you to easily push the desk aside when the workday is done.
The lack of cords reduces visual clutter significantly. Being able to roll your entire desk into a closet at 5:00 PM is the ultimate "log off" move for small-space dwellers.
5. VariDesk Pro Plus 30
If you already have a small desk or table that you love (or can't remove), a desk converter is the answer. The VariDesk Pro Plus 30 sits on top of your existing furniture, turning any surface into a standing desk.
- Two-Tier Design: The keyboard tray is lower than the monitor surface. This maintains proper ergonomic typing angles, which is often a problem with single-level converters.
- Weighted Base: It requires no clamping or mounting. The heavy base ensures it stays put even when fully extended, yet it fits on surfaces as shallow as 24 inches.
- Ready Out of the Box: There is zero assembly. You take it out of the box, put it on your table, and you are working.
It saves you from buying new furniture. If you are working from a dining table or a built-in shelf, this converter gives you sit-stand capability without requiring a dedicated floor space for a new desk.
Getting the Most From Your Compact Setup
Buying the desk is just step one. To truly succeed in a small space, you need to optimize how you use it.
Embrace Monitor Arms
On a small desk, the monitor stand eats up valuable real estate. A clamp-on monitor arm lifts the screen off the desk, reclaiming that space for your keyboard, mouse, or notebook. It also allows you to push the monitor back further than a stand would allow, which is critical on shallow desks for protecting your eyesight.
Cable Management is Non-Negotiable
In a large office, messy cables are annoying. In a small room, they are an eyesore that dominates the space. Use velcro ties, cable sleeves, and under-desk trays to route everything neatly. A single "umbilical cord" of cables running down the leg looks much cleaner than a spiderweb of wires.
Go Vertical
If your desk is against a wall, use the wall. Floating shelves above the desk can hold speakers, books, and decor that would otherwise clutter your small desktop. Pegboards are also excellent for holding headphones, cables, and small office supplies.
Choose Wireless Peripherals
A wireless keyboard and mouse reduce cable clutter instantly. When you aren't working, you can easily stash them in a drawer, leaving the desk surface clear and clean. This helps the desk blend into the room when it's not in use.